Braids are three or more strands crossed over one another in a repeating, alternating sequence, and the single most useful thing to know before you start is that the structure — not the hair, not the yarn, not the leather — determines whether the result holds. A three-strand plait crossed the wrong way at the start will lean and twist no matter how carefully you tension it; a four-strand braid built on the wrong pairing collapses into a lumpy rope. Learn the crossing rule for the braid in front of you and the rest is tension and patience. Skip it and you will redo the first two inches four times.
How a braid actually holds, and why the count of strands changes everything
Every braid is a load path. Each strand travels from one edge to the other, turns, and comes back, and the friction where two strands cross is what stops the whole thing sliding apart. In a three-strand braid there is one crossing pattern and it alternates — left over middle, right over middle — which is why it is the only braid most people can do from muscle memory. Add a fourth strand and you have a choice: pair the strands in the middle and cross the pairs, or pass each strand over two others in turn. The first gives a flat, wide braid with a visible chevron; the second gives a round, dense cord. They are not interchangeable and they do not use the same amount of material.
The practical consequence is that strand count is a materials decision as much as a design one. A round four-strand braid eats length fast because each strand travels a longer diagonal path than it would in a flat plait of the same finished length. Flat braids are more economical and lie better against a surface; round braids are stronger per unit width and are what you want for a cord that will be pulled, tied, or worn against skin. If you are braiding to a fixed length — a belt, a handle, a dog lead — work out your take-up before you cut, because there is no recovering length once the strands are short.
The failure mode to watch for is uneven tension rather than uneven strand count. You will notice it as a braid that curves to one side even though you are pulling straight; the strand on the inside of the curve is tighter than its neighbours and has been for several inches. The fix is to stop, back off the tight strand, and work a little looser on the opposite side to pull the braid straight again. Small corrections every few inches cost nothing. A correction after a foot of braid means undoing a foot of braid.
Hair braiding: sectioning, tension, and the difference between a braid that lasts and one that doesn't
For hair, the braid's lifespan is set before the first cross. Clean, dry hair holds a braid; freshly conditioned hair slides out of one, because the cuticle is smooth and the friction the braid depends on is gone. If you have just washed and conditioned, wait or work with a small amount of product that adds grip rather than slip. Sectioning matters for the same reason: a braid taken from a clean parting with even sections will sit flat, while one grabbed from a loose handful will pull at the scalp within an hour.
Three-strand plaits are the everyday default and the one to master first. Dutch braids (strands crossed under, so the braid sits proud of the head) and French braids (crossed over, so the braid sinks into the hair) are the same motion with the crossing reversed, and the reason to care about the difference is purely visual — Dutch reads as a raised rope, French as an integrated panel. Both are "add-in" braids: you take a small section, cross, then gather more hair into the outer strand before the next cross. The common error is gathering too much at once, which produces a braid that bulges at the top and thins toward the end. Take smaller sections than feels natural.
For a braid that has to survive sleep, sport, or a week, the tension has to be firm at the root and moderate at the tail, and the tail needs a proper fastening — a covered elastic rather than a bare one, because bare elastic abrades the hair shaft where it sits. Very tight braiding at the hairline is the thing to avoid: it pulls continuously on the same follicles and the damage shows up as thinning along the parting rather than as an obvious break. If a braid hurts when you finish it, it is too tight, and loosening it later does not undo the hours it spent pulling.
Wet-setting a braid — braiding damp hair and letting it dry in place — gives you waves that last until the next wash, and it is far gentler than heat. The trade-off is time: you need the hair to dry completely before you take it down, which for thick hair means most of a day or an overnight. Take it down too early and you get a soft bend that drops out by lunchtime.
Braiding yarn, cord, and thread: matching the braid to the tool
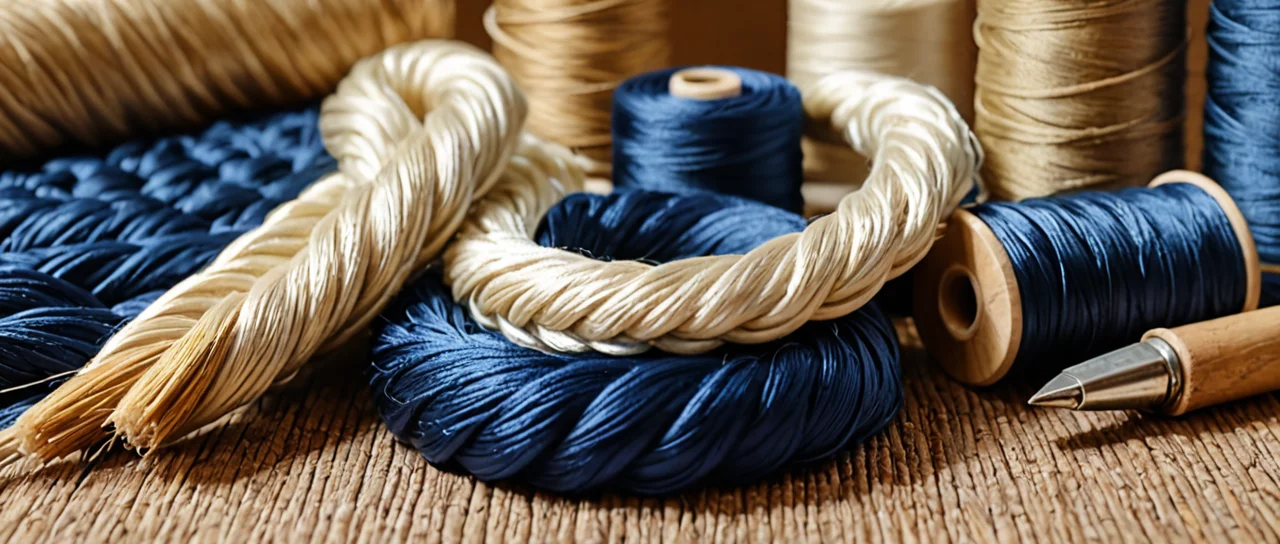
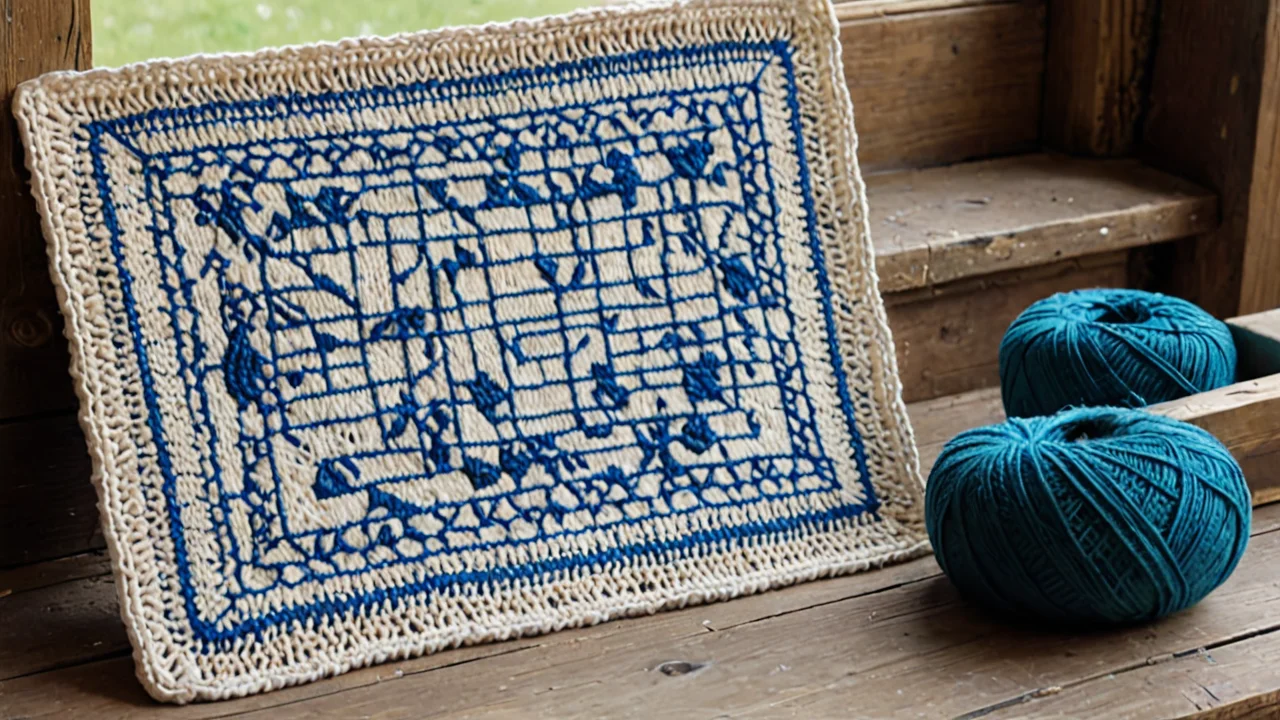
Braiding is the cheapest way to make a cord, and it needs no tools at all — but if you are combining braiding with crochet or needlework, the tool has to match the material, and this is where most beginners lose an evening. Yarn braids worked as flat three-strand plaits take worsted-weight yarn well, and a medium hook in the Craft Yarn Council system is the right partner if you are joining braided strips into a blanket or bag: G-6 is 4.00 mm, H-8 is 5.00 mm, and I-9 is 5.50 mm. G-6 is commonly used with worsted-weight yarn for beginner-friendly projects such as basic blankets and hats; H-8 is often recommended for learning with medium-weight yarn and for granny squares and simple blankets; I-9 is frequently used with medium to light bulky yarns to make a looser fabric for baby blankets and beginner hats.
The match matters because a braid has almost no stretch and a crochet fabric does. If you braid strips at a tight tension and then crochet them together with a hook that is too small for the yarn, the join will pucker and the piece will cup. Go up a hook size rather than pulling looser — a loose braid looks sloppy, a larger hook just makes a softer join. For a firmer, more sculptural braid — bag handles, basket rims, coasters — work the yarn tighter and use the smaller hook in the range.
Fine work is a different system entirely. Crochet thread and lace-weight cord are braided for edgings and doilies, and the tools are the steel hooks, not the aluminium ones. Steel hook size 1 is 2.75 mm in the Craft Yarn Council steel hook standard, and it is the hook for detailed work such as lace edgings and doilies. A 2.75 mm steel hook and a 2.75 mm aluminium hook are not the same tool in the hand — the steel hook has a shorter throat and a sharper point, made for tight thread work rather than for the loft of yarn. If your braided lace edging keeps splitting the thread, the hook is usually the culprit before the thread is.
Where braiding meets sewing — braided trim on a garment, a braided tie on a bag — the machine needle range you are working within is NM 60 to NM 130 per the Schmetz Needle ABC guide. Braided trim is dense and does not compress, so you are usually at the heavier end of that range, and a needle that is too fine will deflect off the braid rather than pierce it, giving you skipped stitches and a bent tip. Test on a scrap of the actual braid, not on the flat fabric.
Braiding leather, rope, and paracord: where the rules change
Leather and paracord braids are built for load, and the design question is how the braid terminates, not how it is crossed. A round four-strand braid in cord is the standard for leads, lanyards and handles because the load sits in the crossings rather than in a single strand. A flat braid is used where the piece has to lie against something — a belt, a strap, a wrap — and it distributes pressure across its width instead of concentrating it.
Cut your strands long. Cord braids take up far more length than people expect, and the take-up is worse in round braids than flat ones. If you are short, the only repair is a splice, and a splice in a load-bearing braid is a weak point forever. Better to trim waste at the end.
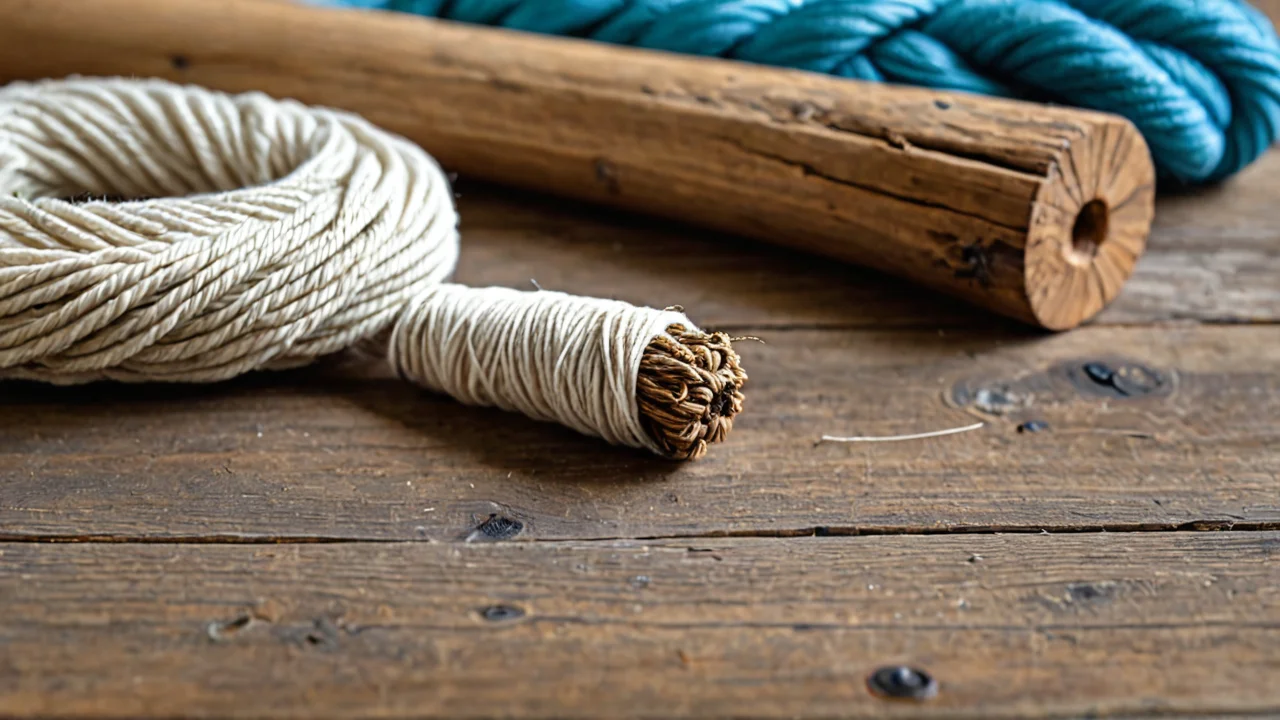
Termination is where beginners lose pieces. Three options, and each has a cost. A knot is quick and needs no tools, but it is bulky and it works loose under repeated loading. A melted end works on synthetic cord only, and it is permanent — get it wrong and there is no second attempt. A stitched and whipped finish is the tidiest and the most secure, and it costs you time and a needle that will take the density. For leather, skiving the ends thin before you bury them under a wrap gives a flatter finish than folding them over, at the cost of a sharp blade and a steady hand.
Edge tension is the other thing that separates a professional-looking cord braid from a homemade one. Pull each strand to the same resistance as you cross it, and check every few crosses by holding the braid up — a cord that spirals is telling you one strand is doing more work than the others. With paracord specifically, the sheath stretches and the core does not, so a braid pulled very tight at the start will loosen as the sheath relaxes. Work slightly firmer than you want the finished braid to be.
Getting the start, the tension, and the finish right: the sequence that saves rework
Work in this order and you will rarely undo anything: choose the braid structure, calculate take-up, cut and prepare the strands, anchor the start, braid with a tension check every few crosses, then finish. The step people skip is anchoring the start, and it is the one that determines whether the first inch is even. A loose start cannot be tightened later — the slack works its way down the braid rather than back up it.
For hair, anchoring means a clean section and a firm first cross held in place while you take the second. For cord, it means a knot, a clamp, or a pin that holds the top while both hands work the strands. For yarn, it means securing the top to something fixed — a chair back, a clamp, a heavy pin — because braiding yarn in mid-air gives you a braid that twists.
Tension checks are cheap and undoing is expensive. Every few inches, lay the braid flat and look along it. A consistent braid has evenly spaced crossings and straight edges. A braid with one tight side will curve; a braid with alternating tight and loose crossings will look lumpy and will wear unevenly. Correct small errors immediately.
Finishing is the step that decides whether the piece lasts. Hair: a covered elastic, and for long-term styles a wrap that spreads the pressure. Cord: a stitched and whipped end, or a melted end on synthetics, backed up with a wrap. Yarn: weave the ends back through the braid itself rather than knotting them, because a knot in a braided strip shows through any crochet join. Leather: skive, glue, stitch, and burnish the edge.
| Material | Best structure | Start | Finish | Main cost |
|---|---|---|---|---|
| Hair | Three-strand, add-in (Dutch or French) | Clean section, firm first cross | Covered elastic, wrap for long wear | Time; tension damage if too tight |
| Worsted yarn | Flat three-strand | Anchored to a fixed point | Ends woven back into the braid | Take-up; joins pucker if hook is too small |
| Crochet thread | Fine flat braid for edging | Pinned to a firm surface | Woven and blocked | Slow; steel hook required |
| Paracord / rope | Round four-strand | Knot or clamp, worked firm | Melted or stitched and whipped | Heavy take-up; no repair after melting |
| Leather | Flat braid for straps, round for handles | Clamped, ends skived | Skive, glue, stitch, burnish | Blade work; unforgiving of error |
What goes wrong, how you notice, and what it costs to fix
The most common braid fault is a start that was never anchored, and you notice it as a first inch that is visibly wider and looser than the rest. It cannot be tightened from below. The fix is to undo back past the loose section and re-anchor, which costs you the first few inches — cheap at the start, expensive if you have braided a foot before admitting it.
The second is uneven strand length, which shows up as one strand running out before the others and forcing you to stop short or splice. It comes from cutting by eye rather than measuring, and it is entirely preventable. Measure each strand against the first, not against your sense of how long it should be.
The third is a braid that spirals. One strand is tighter than the others, and the cause is usually that you are holding the work at an angle rather than straight ahead. Rotate the work as you go so that each cross is made in the same orientation. If the spiral has set over several inches, the correction is to work the opposite side deliberately looser for a stretch until the braid straightens; it will show slightly, but less than a permanent curve.
The fourth is a finish that fails. A bare elastic slips off a hair braid within days; a knot in paracord works loose under load; a knotted yarn end shows through a crochet join. In each case the repair is more work than the original finish would have been. The pattern is consistent — the parts of braiding that fail are the two ends, not the middle, and the middle is the part everyone practises.
The honest trade-off across all of it is speed against durability. A quick three-strand plait with a bare elastic takes minutes and lasts days. An anchored, evenly tensioned braid with a proper finish takes considerably longer and lasts. There is no version of braiding where you get both, and the choice you are making at every step is which one you actually need.